Activity 12
Making a Napkin for my Packed Lunch
Materials Needed: clean cotton or linen scrap fabrics (fabric should be at least 40 cm by 40 cm square), ruler, pencil, scissors OR pinking shears, glue (optional)
With the help of my parents
1. Gather the materials listed above.
2. Measure and trace a square 35 cm by 35 cm with the scrap fabric.
3. I match steps 3 to 5 with the correct picture
4. I follow steps 1 to 5 to make a cloth napkin for my packed lunch.
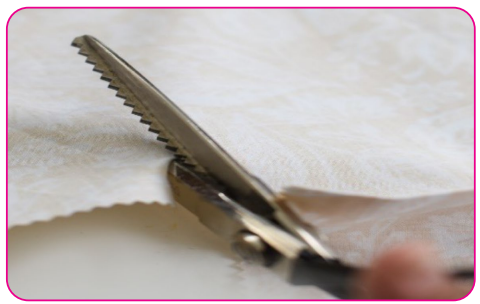
3. If you have a pinking shear, cut out the square using the tool. Your napkin is ready for use after washing it.
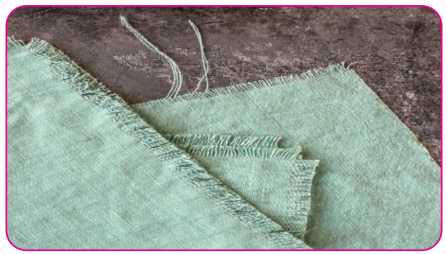
4. If you do NOT have a pinking shear, cut out the square using a regular pair of scissors and then proceed as follows:
Pull a thread on one edge through the fabric as far as you can.
Repeat step 4a to create a fringed edge of about 3 cm long on each side.
To stop the fabric from fraying further, you may use glue along the edge.
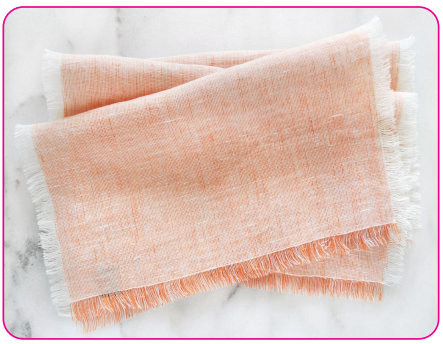
5. Your cloth napkin is ready for use after washing it.
NOTE to Parents
You produce less trash with cloth napkins.
Each year, tons of trash end up in our landfills. Some of this trash finds its way into nature and our ocean, causing trouble for wildlife. Every little bit counts and small changes can have a huge impact.
Make your own cloth napkins from old pieces of fabric because:
• Cloth napkins can be reused for years.
• Cloth napkins cost less compared to the monthly cost of paper napkin.
• Cloth napkins produce less trash.
• When cloth napkins are too stained, they make great rags. You can use them in place of paper towels to wipe up spills or wipe down counters.
• Cloth napkins fill in gaps in lunch boxes. Napkins can help keep things from shifting around if you have a kid who likes to swing their lunch box as they walk.
• Cloth napkin can be used as a mini table cloth, so as you have a small clean surface.
NOTE to Teachers
Related HPE topic/ concept: ‘Balanced Lunch/Meals’