Activity 5
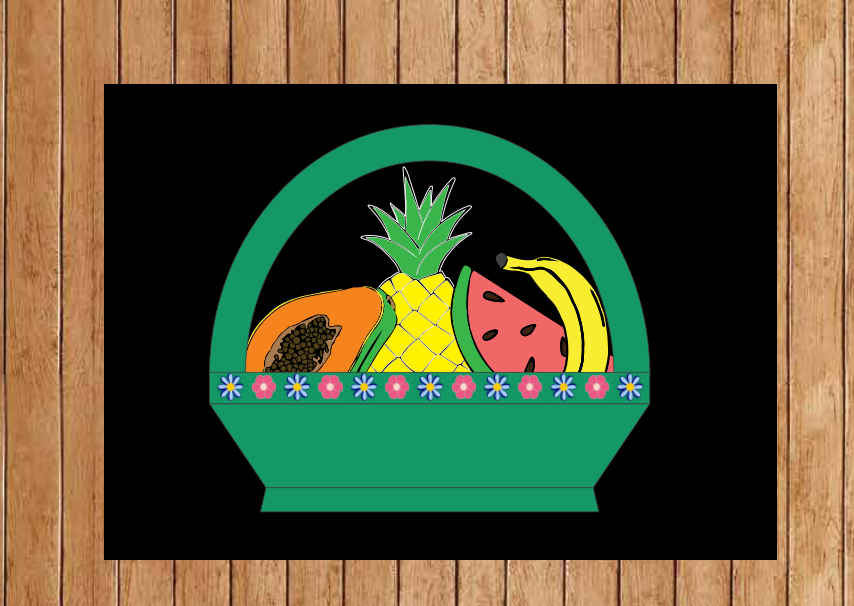
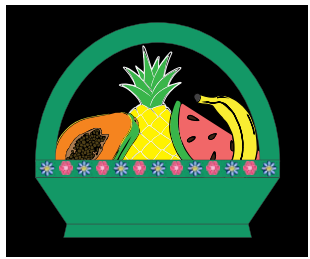
My fruit basket
(i) Place the basket in the empty space.
(ii) Fill your basket.
(iii) Colour and decorate


Materials needed: Black bristol paper or cardboard (for the background), white paper (for the paper fruits), coloured pencils, water or poster colours, paint brushes, scissors, glue stick, pencil, ribbons, stickers, glitter glue, other scrap materials for decorating.
A. Making the Fruit Basket
1. Cut out the main basket piece and the handle.
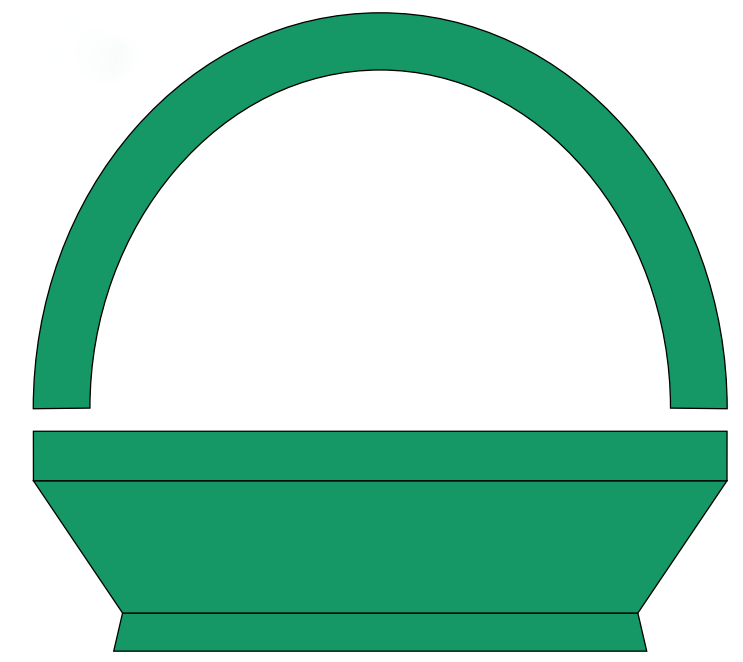
Paste the handle with the main basket.
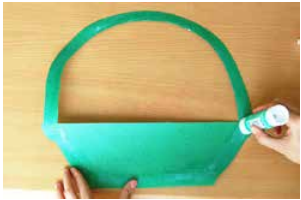
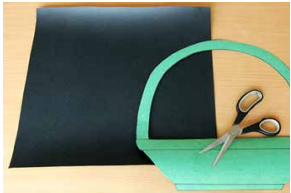
Cut the cardboard or the bristol paper into a size that fits the basket.
Apply glue along the side and bottom of the basket onto the black background paper. Glue the handle onto the basket. Press on the edges.
Note: Leave out the basket’s top edge; this side should be open so that you can put the fruits inside the basket.

Decorate the basket with whatever craft materials you have - glitter glue, stickers and ribbons.

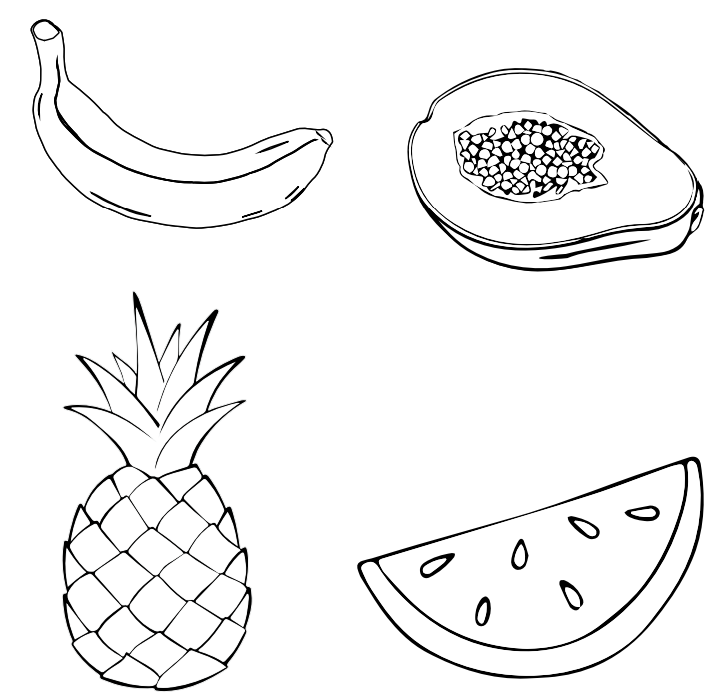
B. Making the Fruits:
1. Cut out the different fruits below. You can also make your own drawings of other local fruits.
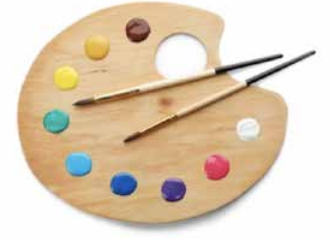
If using paint, mix paint on on your palette to match the colour of your fruits (red and green for water melon, yellow for bananas, and so on ). Add water as needed and mix well.
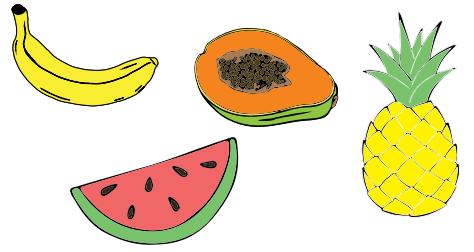
Colour the fruits.
If you have used paint, once you’ve painted all the fruits, set them aside to dry.
Place the coloured fruits inside the basket
Further exploration:
You can also:
- Make a basket of vegetables or a combination of fruits and vegetable
NOTE to Parents
This fun activity and the subsequent ‘Penholder Activity’ help to:
• Consolidate understanding about the importance of recycling and upcycling throught the use of scrap materials in making decorative items.
• Promote the habit of re-using scrap materials.
• Promote a culture of collecting, sorting, cutting and storing scrap materials in separate boxes or containers.
• Promote the imagination and creativity of the child.